Scrap SMART- Step 8: Power Layout!

If you are wondering what is the best way to organize pictures and memorabilia for your album project, you will LOVE Power Layout!
It is an organizers dream! This assembly line process helps you see exactly where your album project starts and ends before you adhere a single photo! This will show you what adjustments are needed to complete your project- like combining photos that are stretching across 3 pages, into 2 pages. You can get an overall view of the project and verify if what you have laid out is exactly how you want your project to look! Once this step is completed, adhering the photos is a snap!
What is the most effective way to keep your project contained until it is completed?
I ordered the Power Layout Box and guides from Creative Memories here. I love this system! It is one of my favorite organizers! It really has improved the “flow” of my albums. At first, you may feel this step slows you down. You may want to jump in and start putting your photos in your album, so you feel you are getting something “done”. That is always an option- to go straight from the Power Sort Box to your album, but I would encourage you to try this method. The first time I did a Power Layout, I did not understand the value of this step. But I found that as I completed my album using the Power Layout system, I was much happier with the end result because I had a chance to adapt along the way, instead of finding myself with funky layout dilemmas. TRUST ME on this! It will save you time and frustration!
The Power Layout Box and 15 guides are made from a safe polypropylene plastic that will not damage your photos. (You can order extra guides alone and I would recommend that, so you have 30 guides or more) You can safely store your photos in them. But the idea is to get them into albums quickly and this will help you progress on your projects! Then you can continue to re-use the box for your next album! I like to use a self adhesive strip and slip in a piece of paper on the front of the box so I can see what project I am working on.
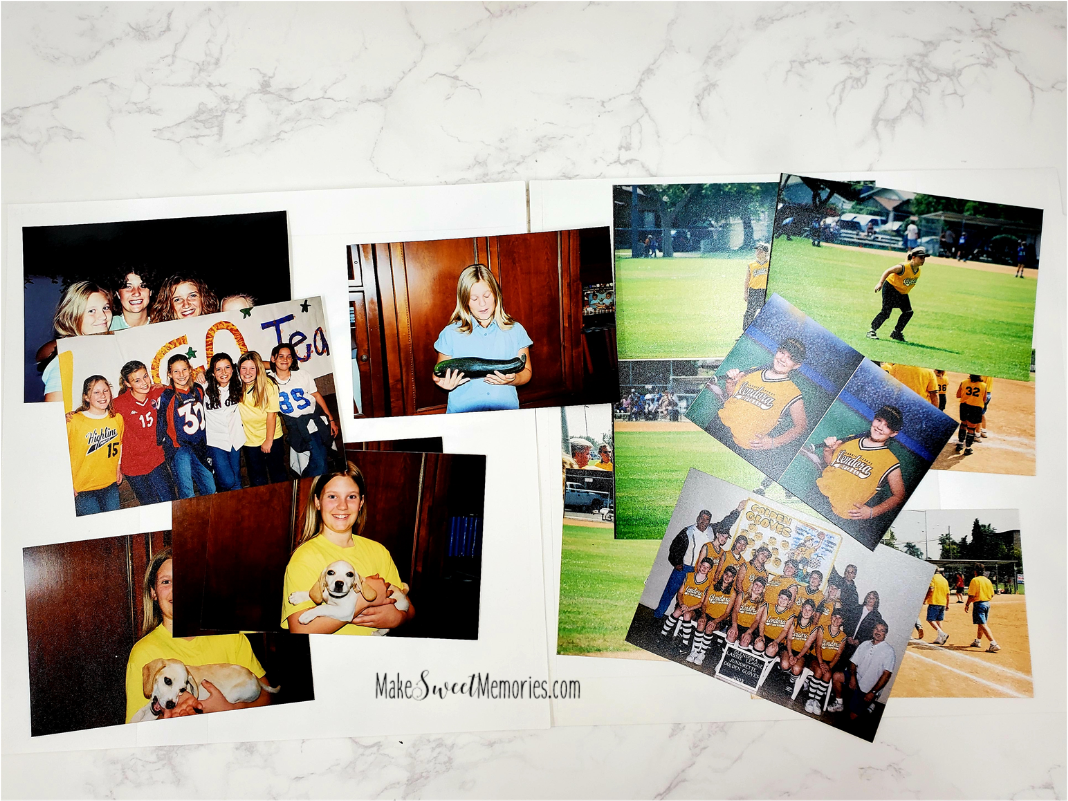
You will see on each guide inside an outline that shows you the surface area of a 12x12 page, so you know how much space you have for photos on each guide. Each guide has either a leftside or rightside tab, which indicates which page it is. I leave my title page blank and just label it with a post it note and move into my two page spreads. Lay out your guides next to each other, so they look like a book. Leave a space and set out two more guides. Do this for whatever space you have. Sort your photos on the guide without arranging them- just group the best photos together, so you can see how many pages you will need. Some people lay these out on a bed or large table or even on the floor. You will stack them up in the box, so you can effectively use a very small space and do two pages at at time if you need to. It is really helpful to see an overview of your project on these boards, so spreading out on the floor, just temporarily, really works! Making these decisions ahead of time propels you forward!
Completing a Power Layout before a workshop dramatically increases your productivity! It is typical for someone who has completed the Power Layout to lay down 20 or more pages in an afternoon workshop, while others may complete 8 to 10 pages. The proof is in the pudding my friends! Once you have done this, it will revolutionize your album making! I challenge you to try this if you have not done it before, or if you have, to get out your box and fill it up again! It’s invigorating to get so much done!